Number Management
Acquiring and managing the phone numbers on an account is simple in Kazoo. Using the available applications adminstrators can purchase new numbers with instant activation, manage features such the emergency address, assign to users or devices and move them between accounts.
Who can use this feature?
All adminstrators on any Kazoo deployment.
Keep in Mind: After clicking
Buy Numbersyou may be presented with the changes to the monthly billing amount. ClickingAcceptwill allow the numbers to be purchased orCancelwill make no change.
Purchasing the Company Main Numbers
-
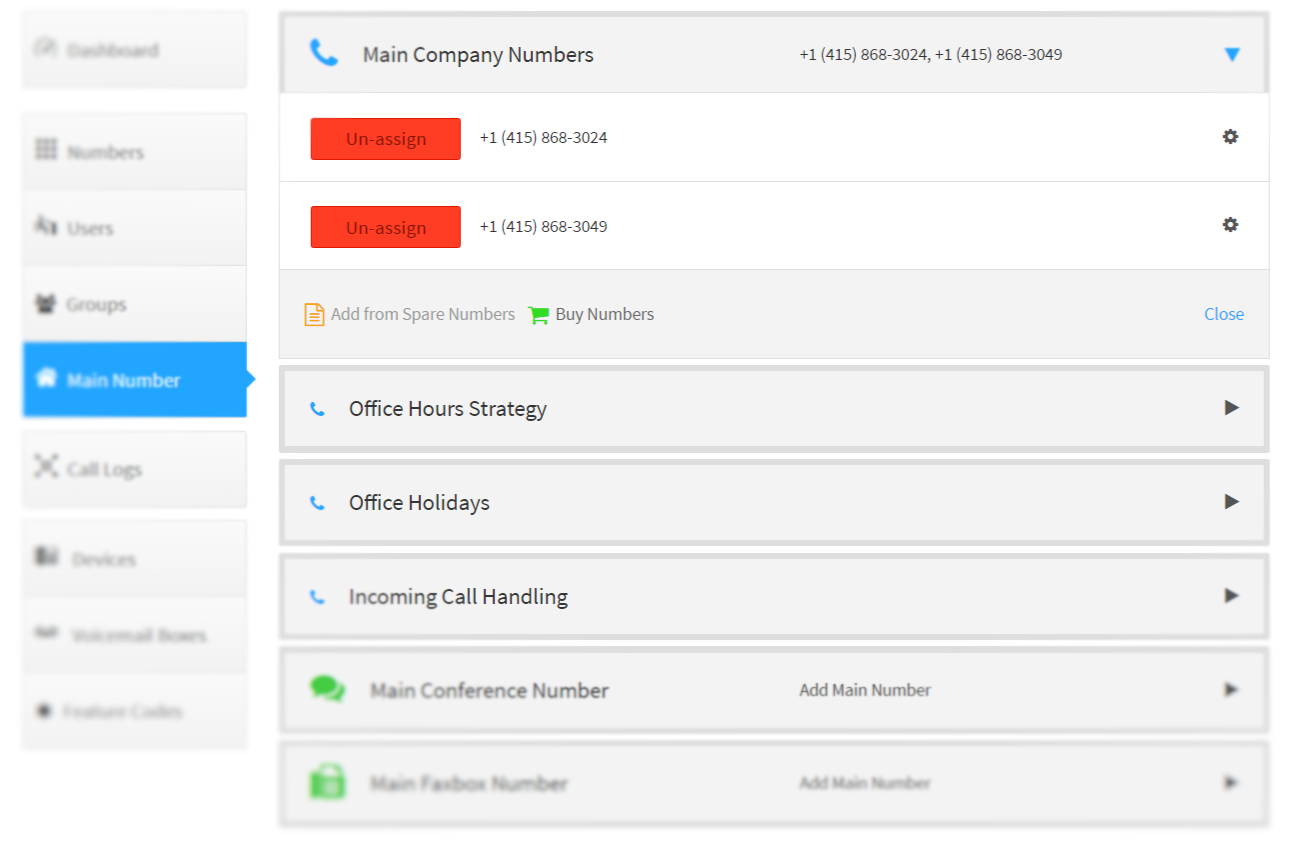
Switch to the SmartPBX application and select the
Main Numbertab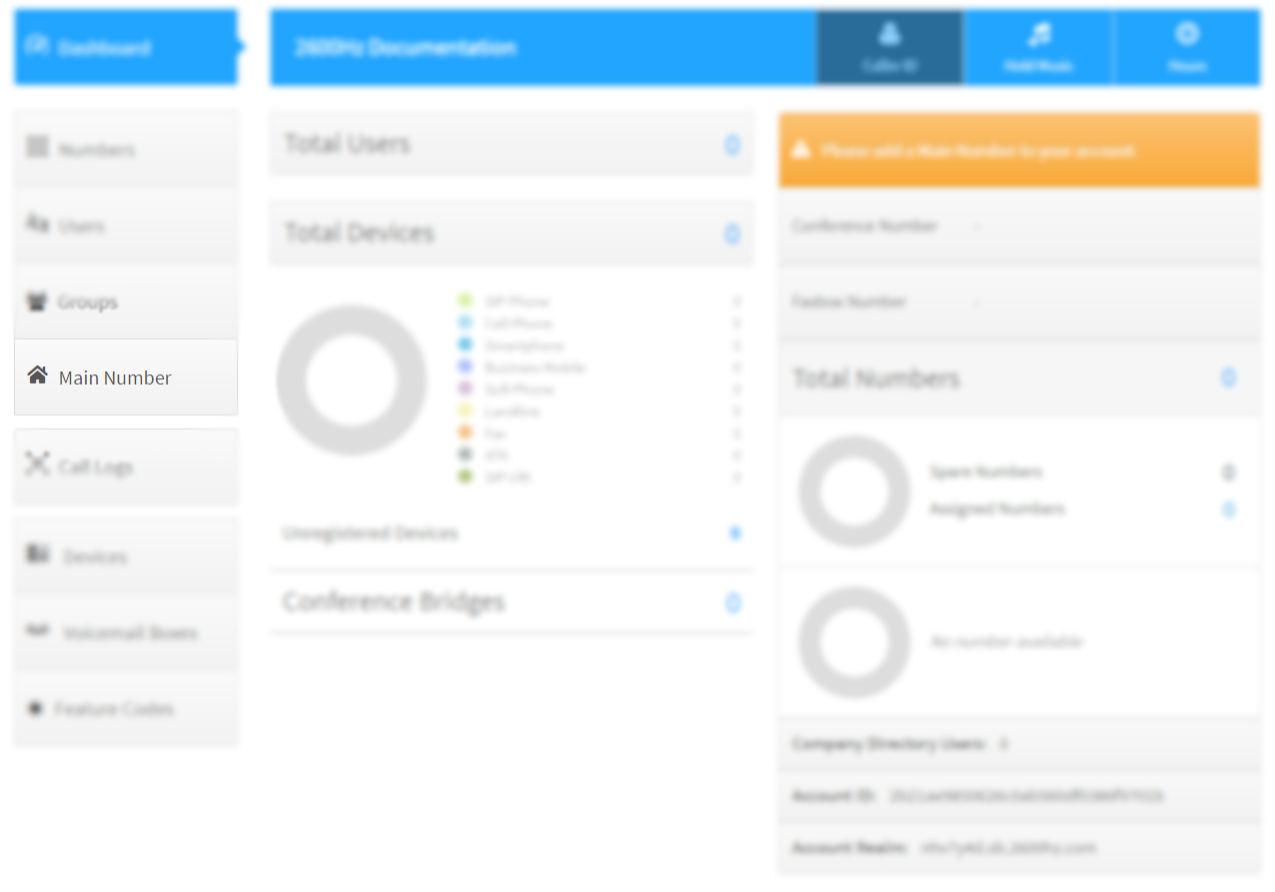
-
Expand the
Main Company Numbers, then click theBuy Numbersand selectLocal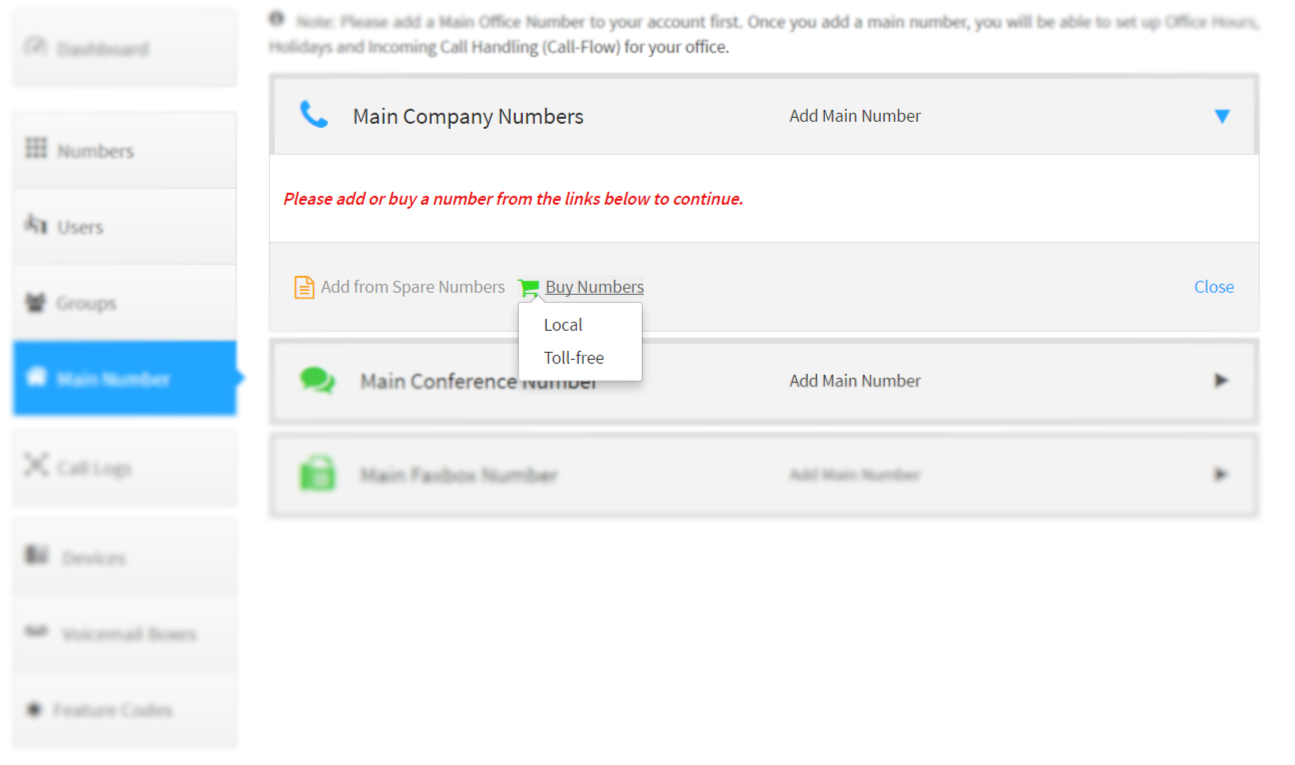
-
Enter the area code for the desired location then click
Search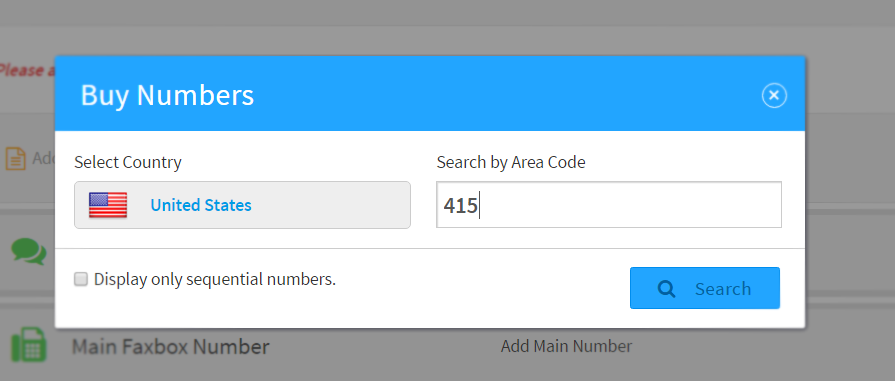
-
Select one or more numbers and click
Buy Numbers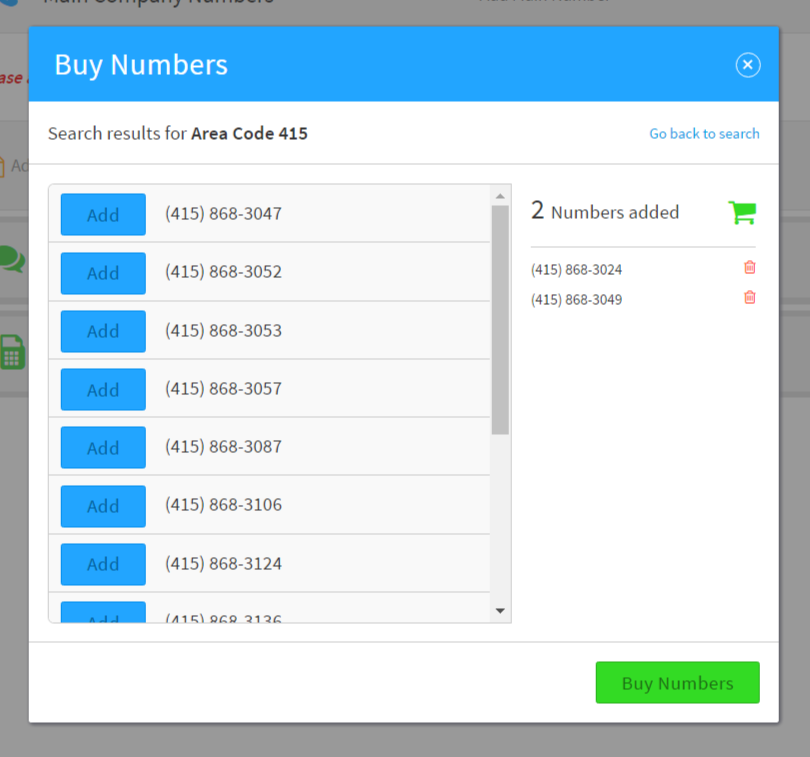
-
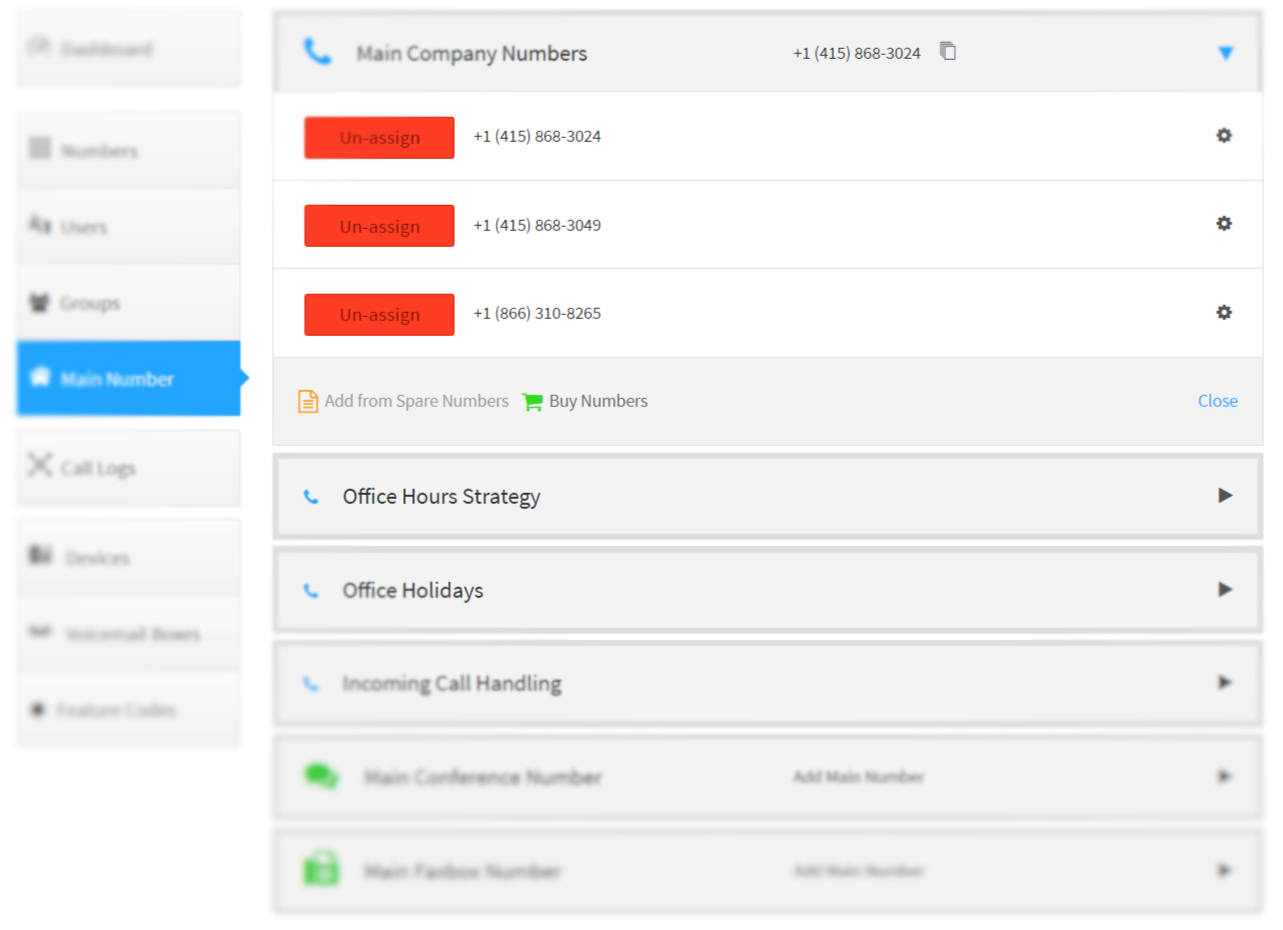
The numbers selected will now be listed and will be active within 5 minutes
Purchasing Company Toll-Free Numbers
-
Switch to the SmartPBX application and select the
Main Numbertab
-
Expand the
Main Company Numbers, then click theBuy Numbersand selectToll-free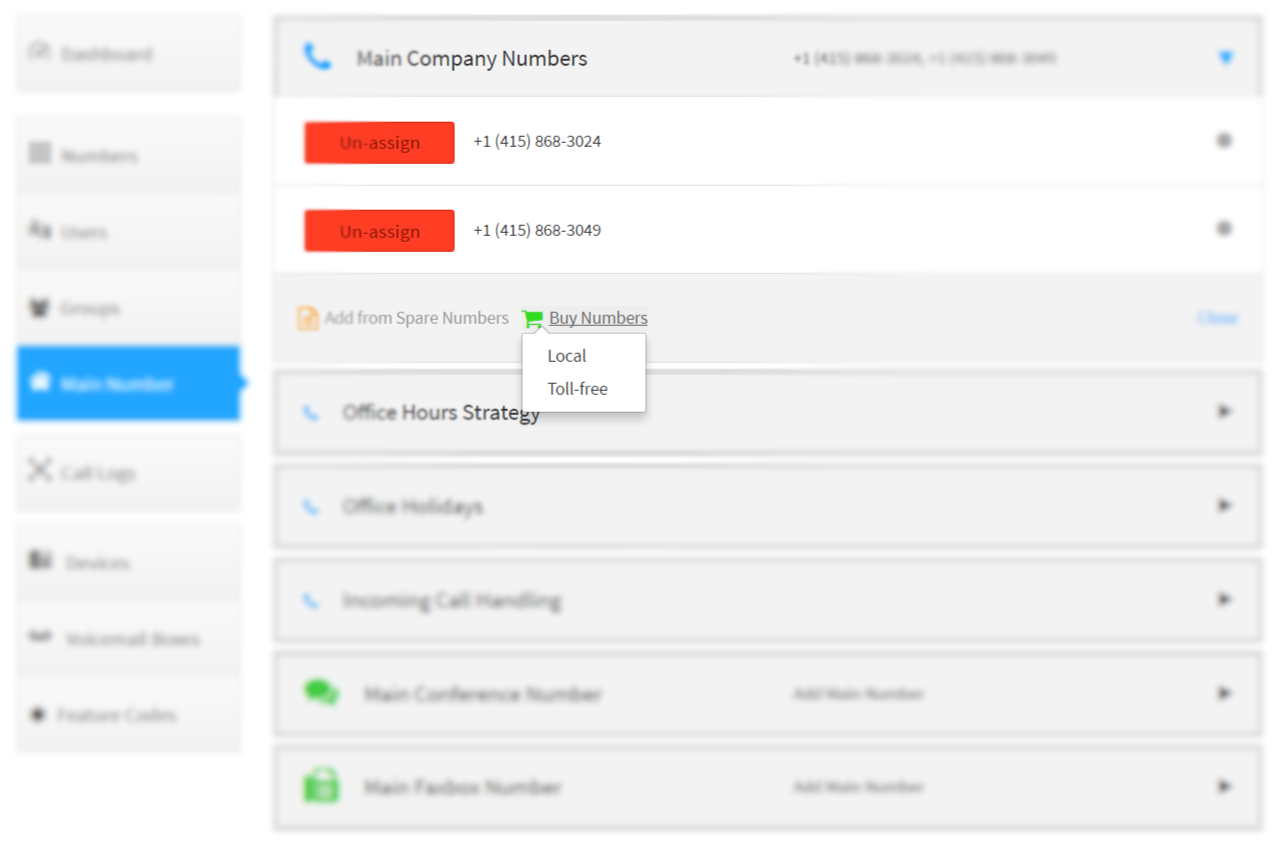
-
Select a toll-free prefix then click
Search
-
Select one or more numbers and click
Buy Numbers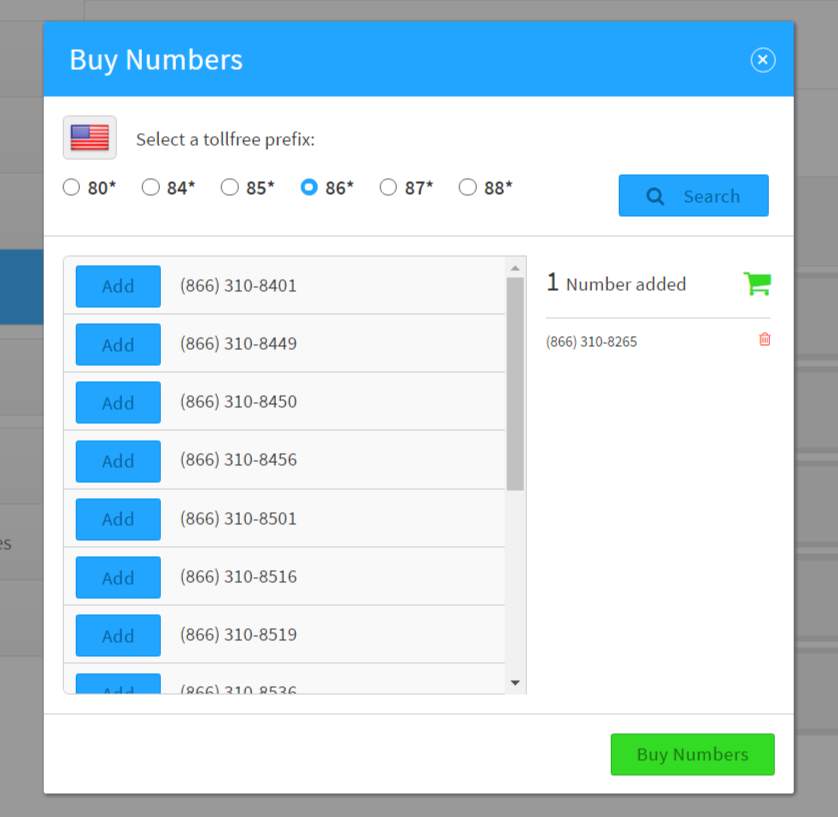
-
The numbers selected will now be listed and will be active within 5 minutes
Purchasing Numbers for Users
-
Switch to the SmartPBX application and select the
Userstab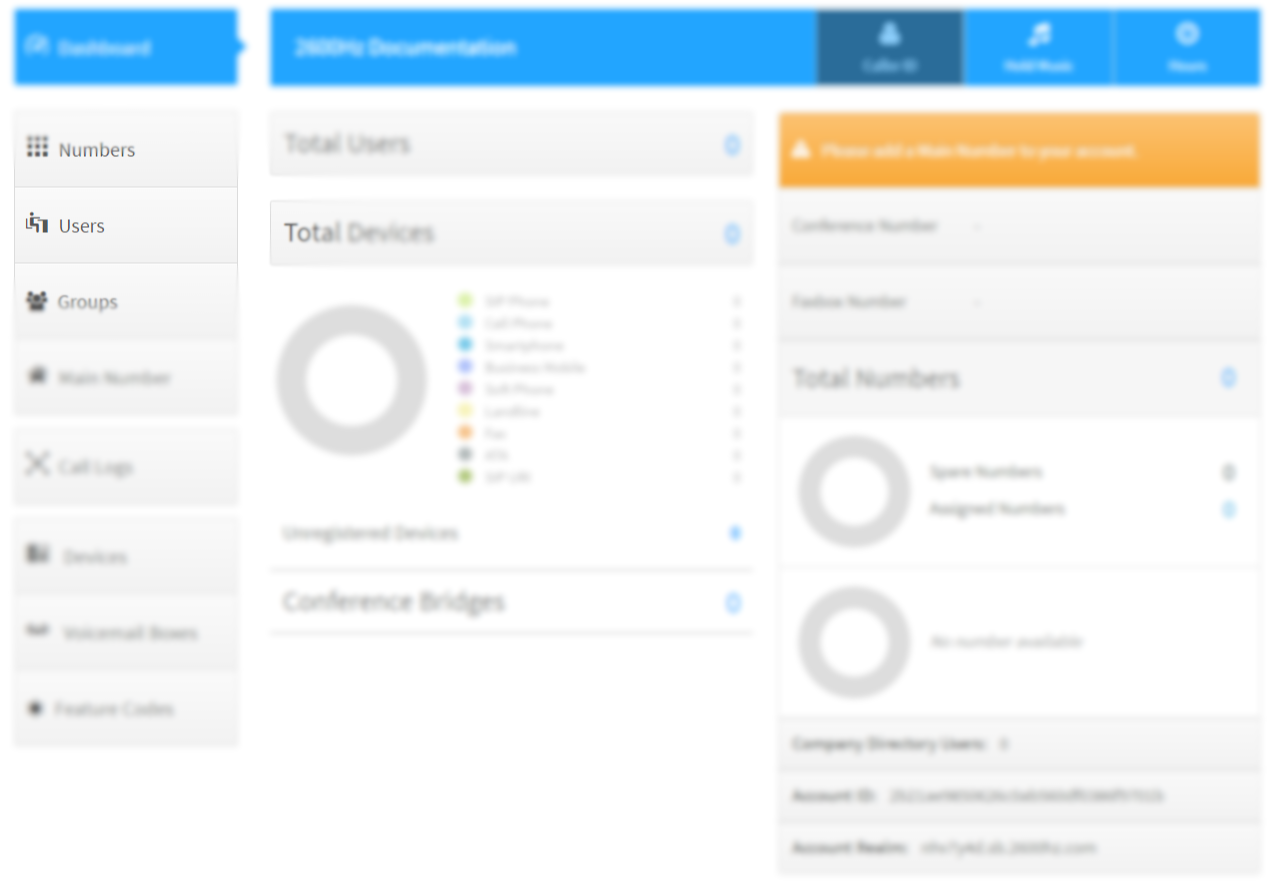
-
In the column under
Phone Numbersclick on the row with the User to add a phone number to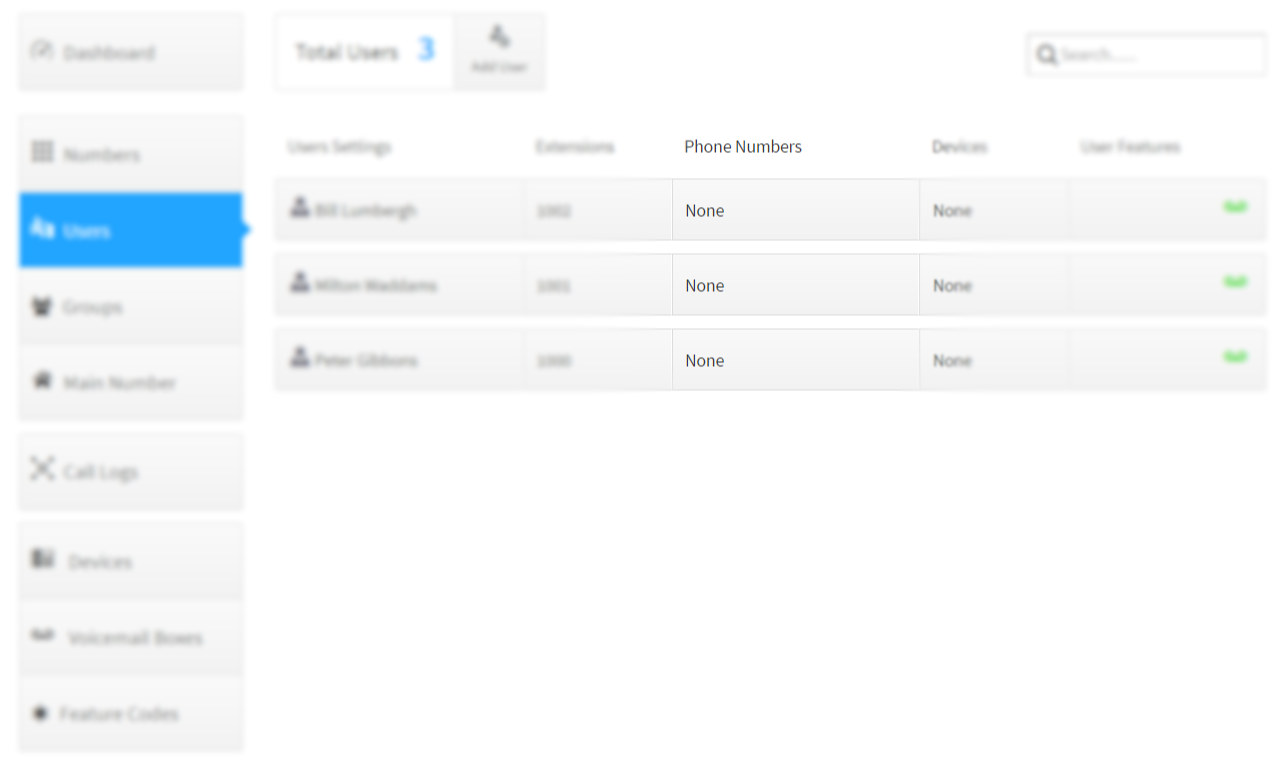
-
Select
LocalorToll-freeand follow the same steps as indicated above to complete the purchase.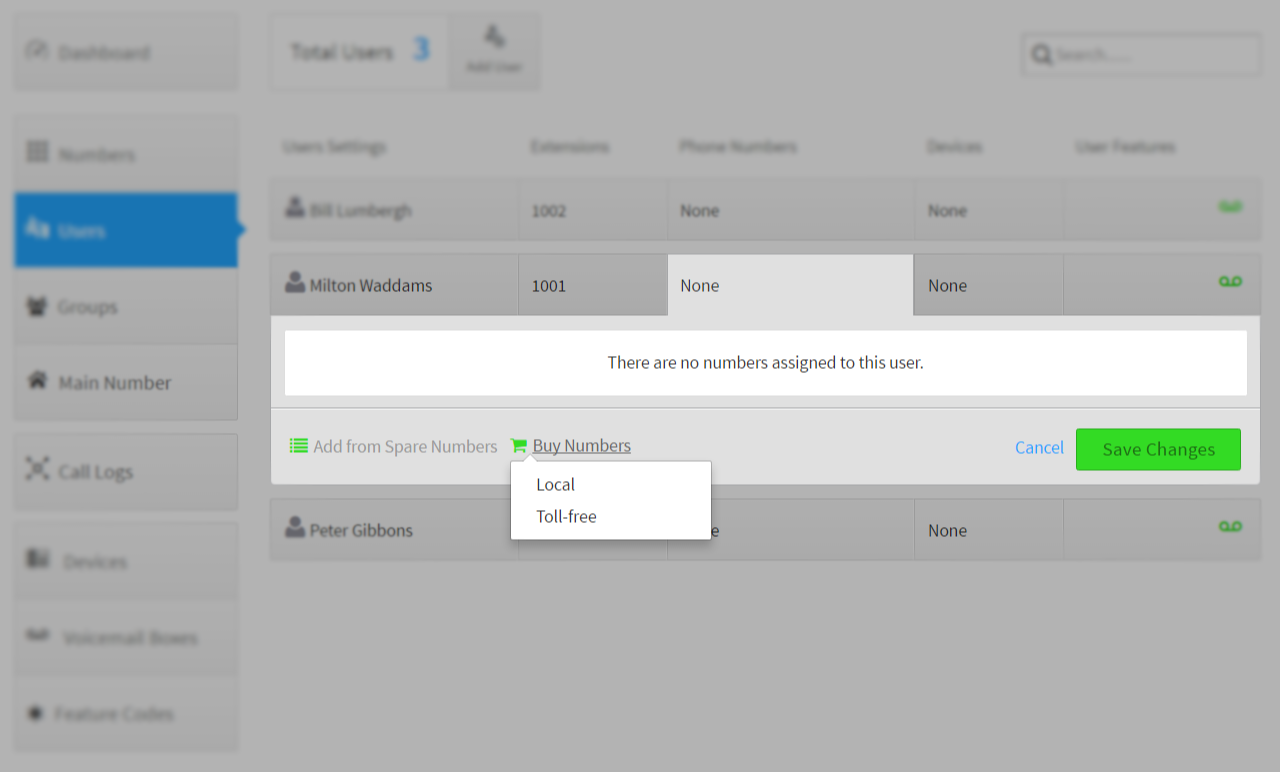
Purchasing Company Conference Numbers
-
Switch to the SmartPBX application and select the
Main Numbertab
-
Expand the
Main Conference Number, then click theBuy Numbers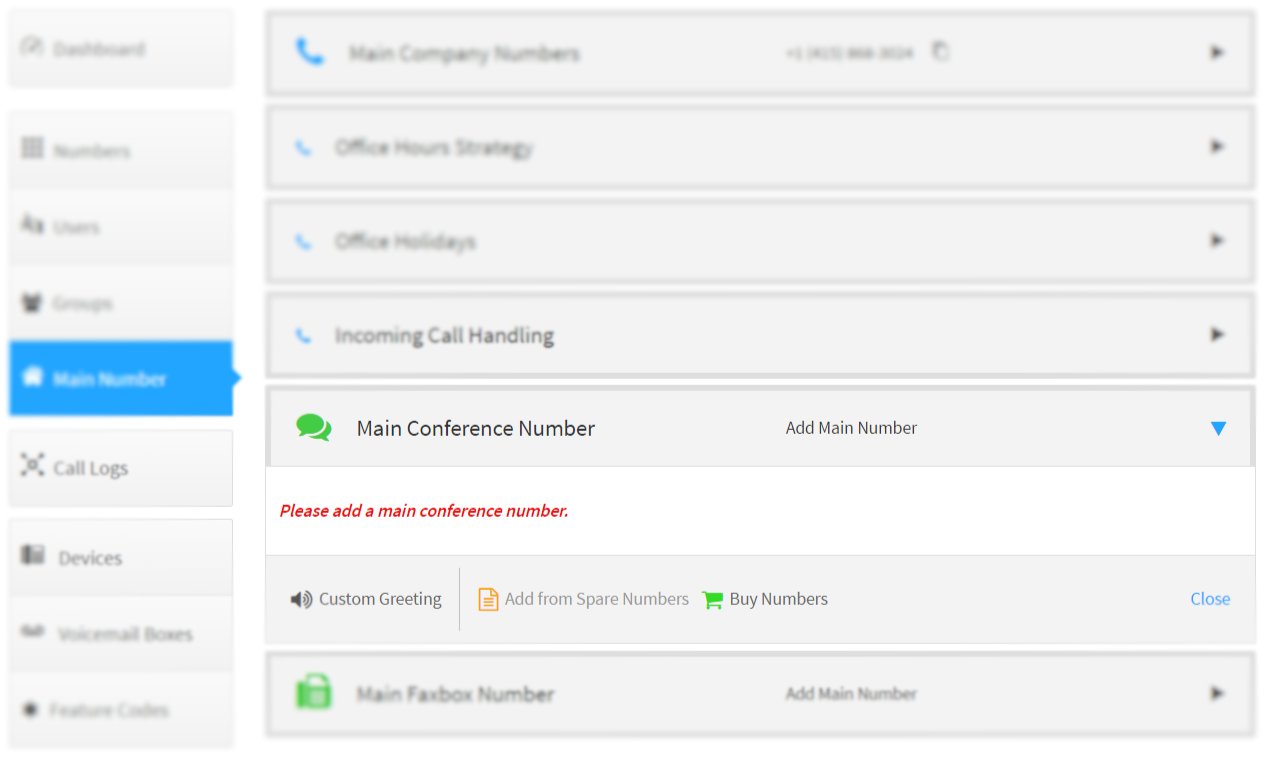
-
Select
LocalorToll-freeand follow the same steps as indicated above to complete the purchase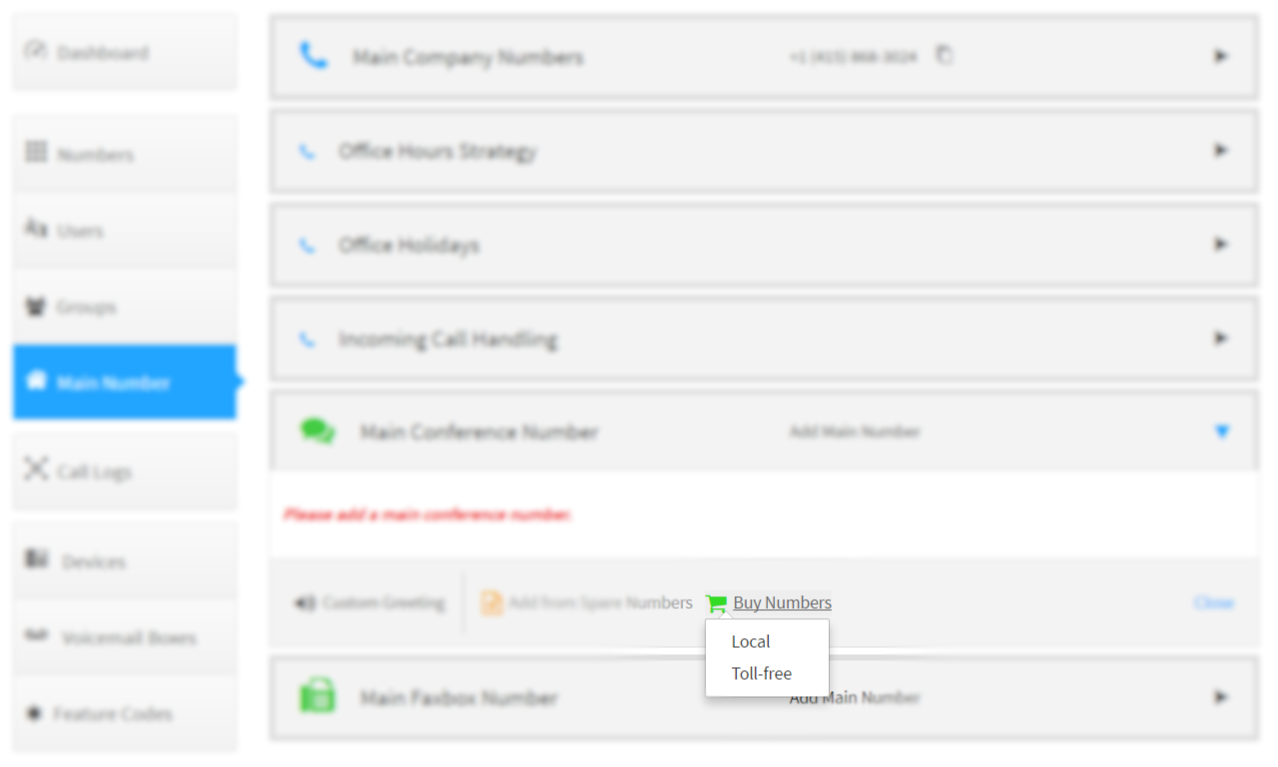
Purchasing Company Fax Number
-
Switch to the SmartPBX application and select the
Main Numbertab
-
Expand the
Main Faxbox Number, then click theBuy Numbers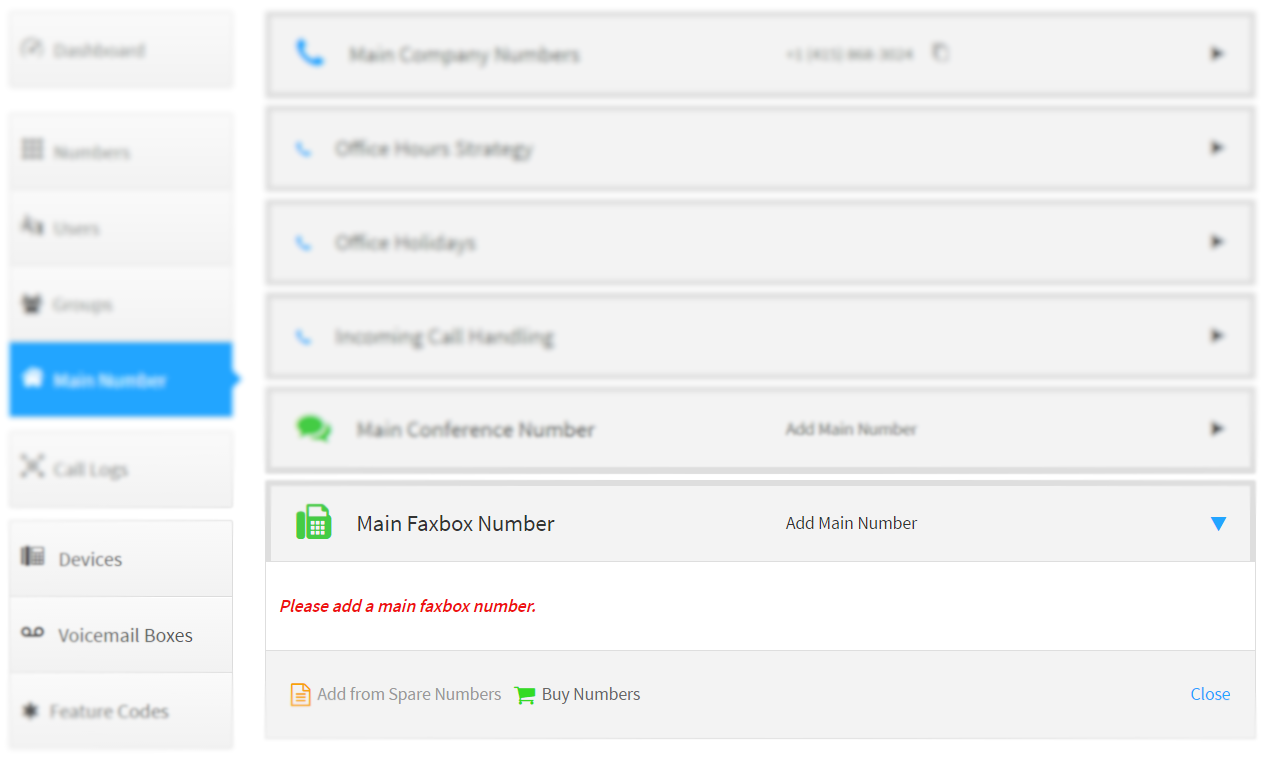
-
Select
LocalorToll-freeand follow the same steps as indicated above to complete the purchase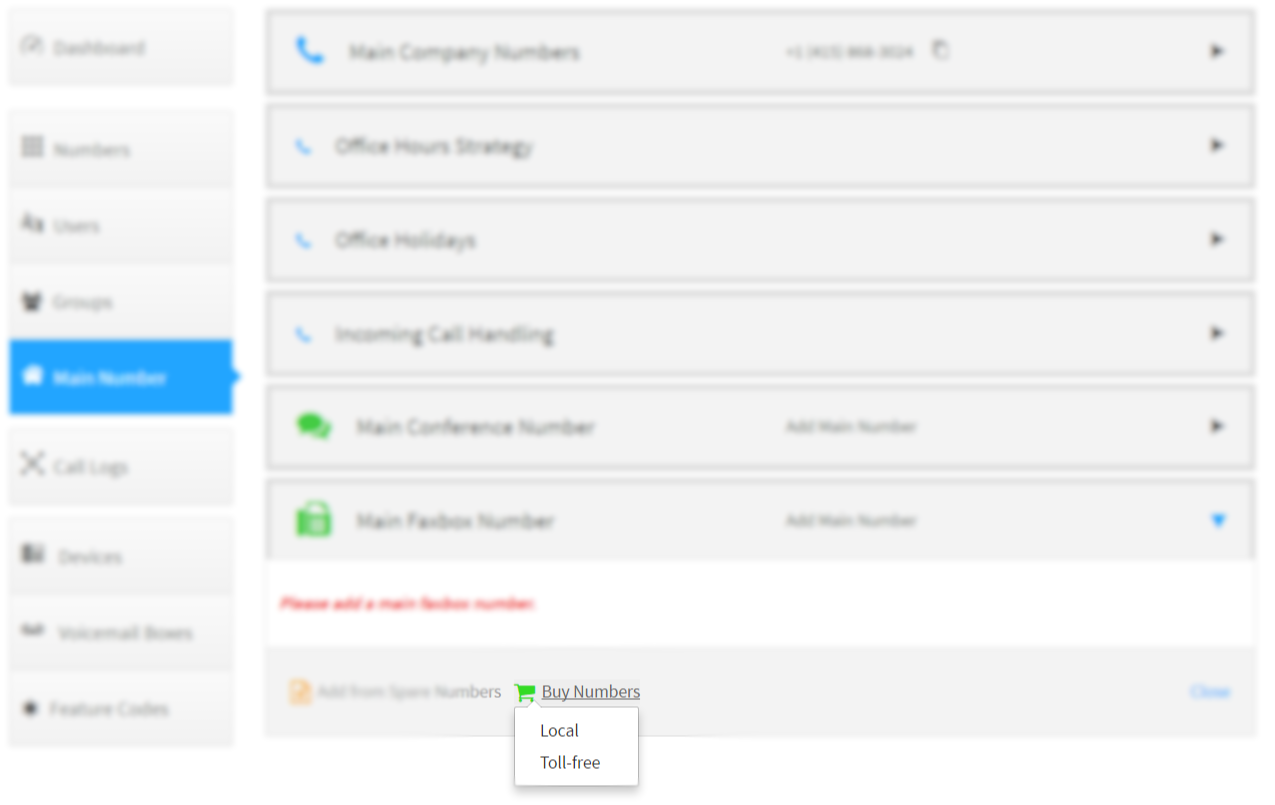
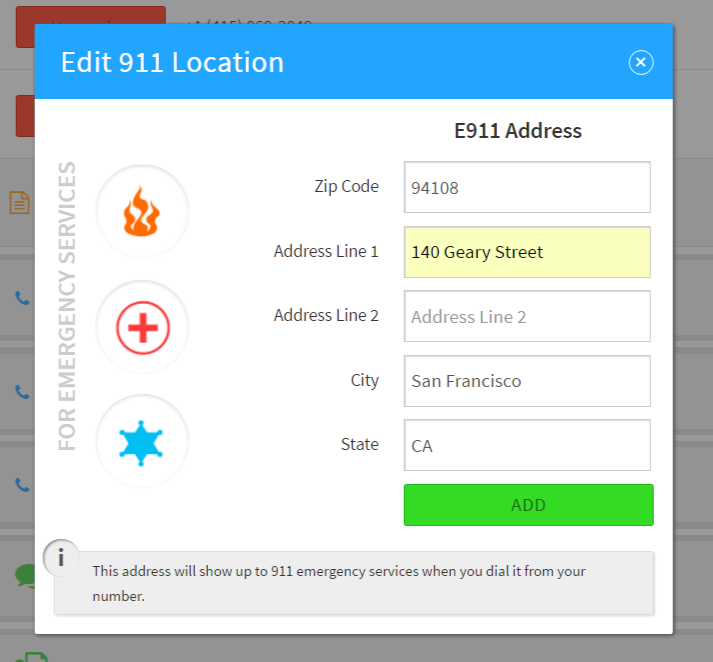
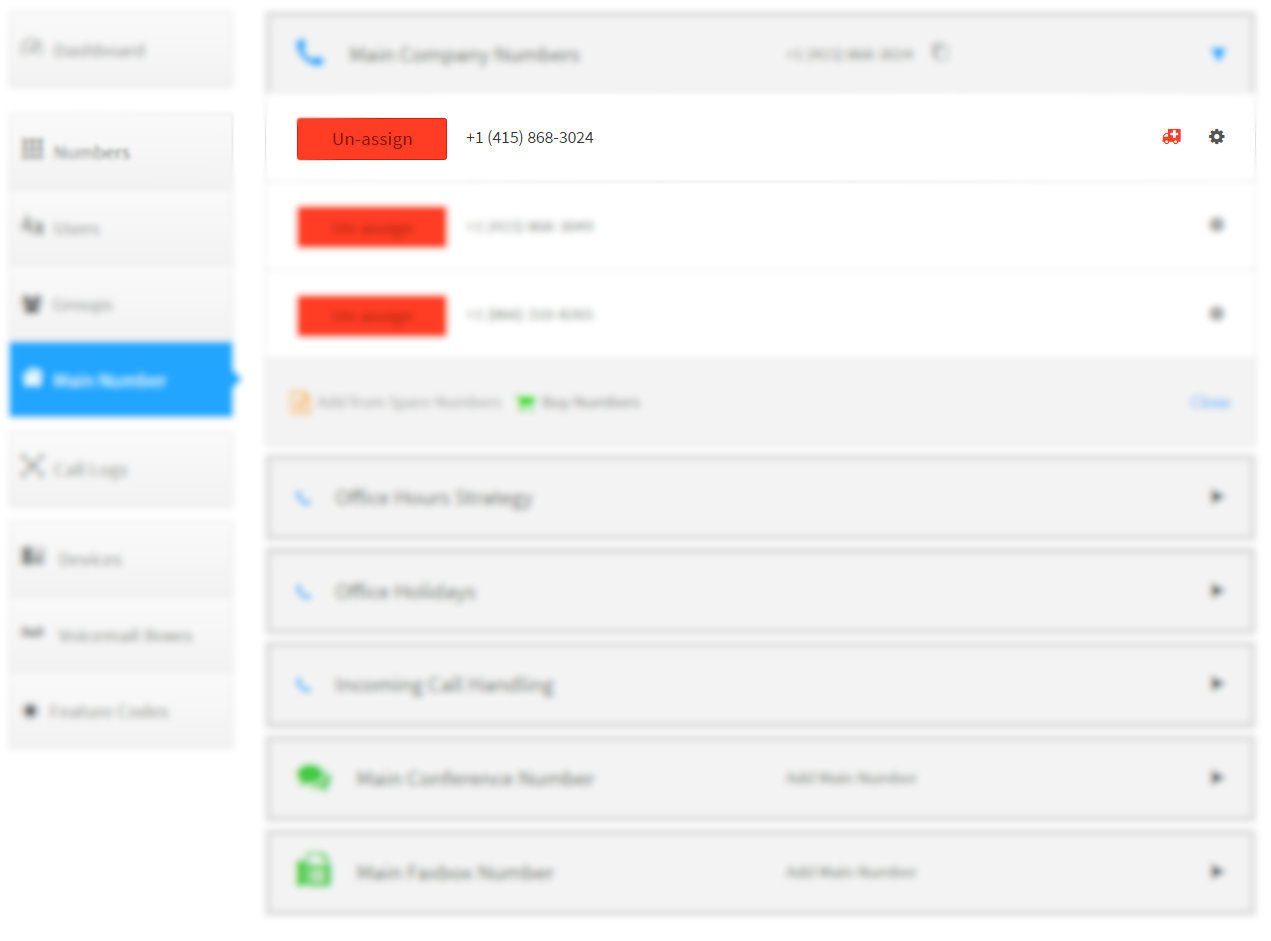
Setting the Company Emergency Address
-
Switch to the SmartPBX application and select the
Main Numbertab
-
Expand the
Main Comany Numbers, then click the gear icon next to the number and selecte911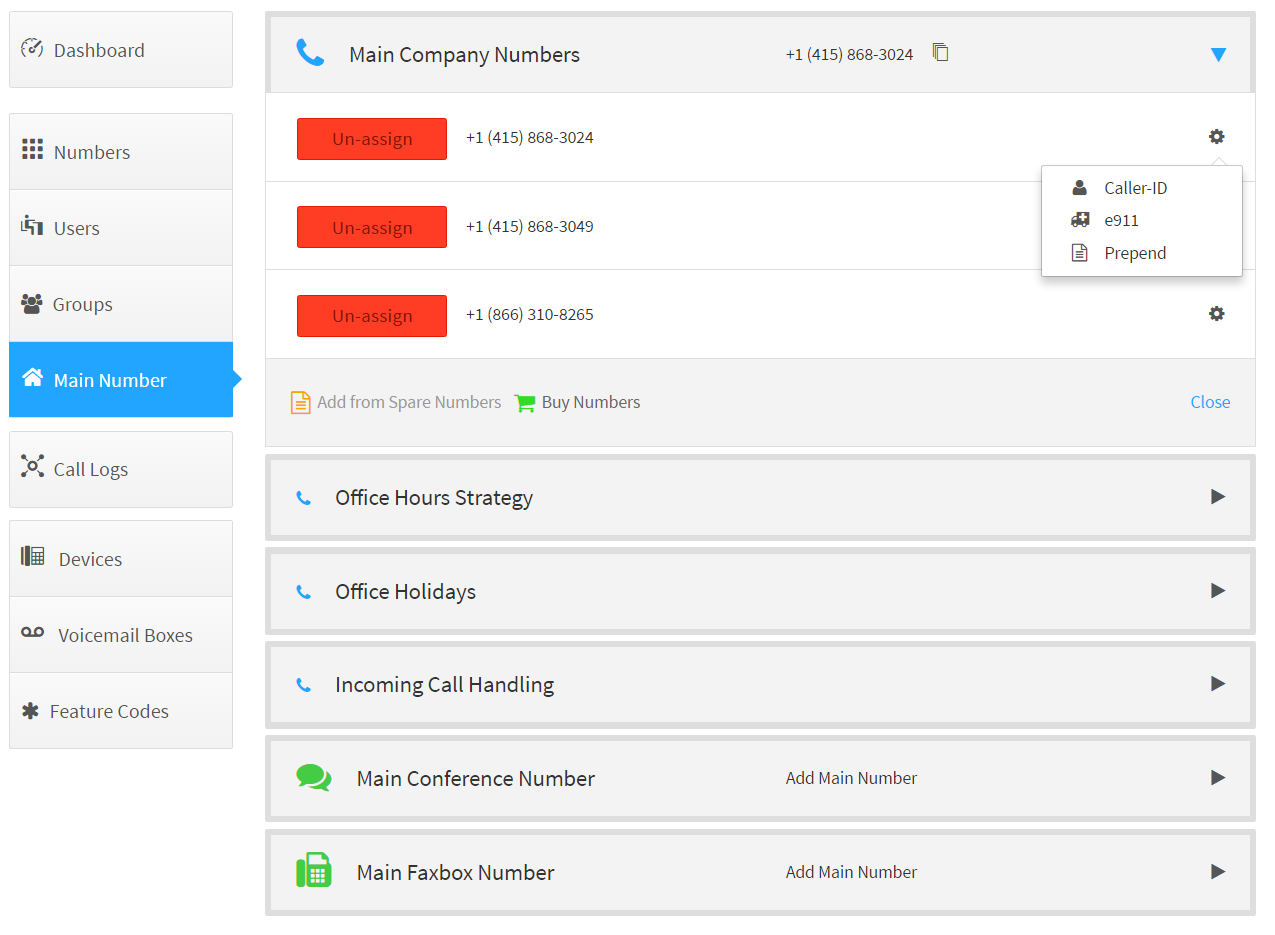
-
Enter the emergency address and click add
-
Ensure the emergency enabled icon appears
Using Spare Numbers
Keep in Mind: A spare number is one that has been purchased for the account then
unassignedbut not deleted.
-
Switch to the SmartPBX application and proceed as you would for number purchasing

-
Click on
Add from Spare Numbers
-
Select the spare numbers and click on
Add selected numbers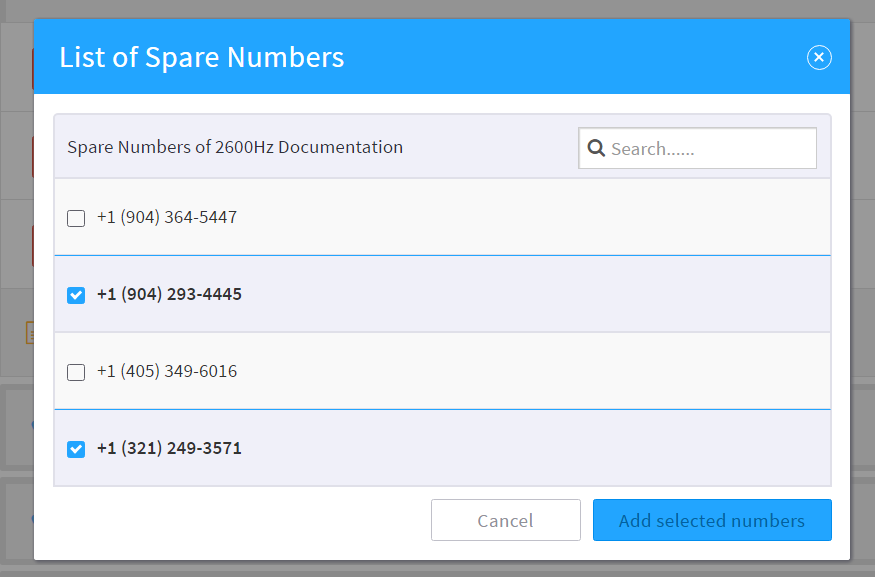
Removing Numbers
Keep in Mind: A spare number is one that has been purchased then
unassigned.
-
Switch to the SmartPBX application and and select the
Numberstab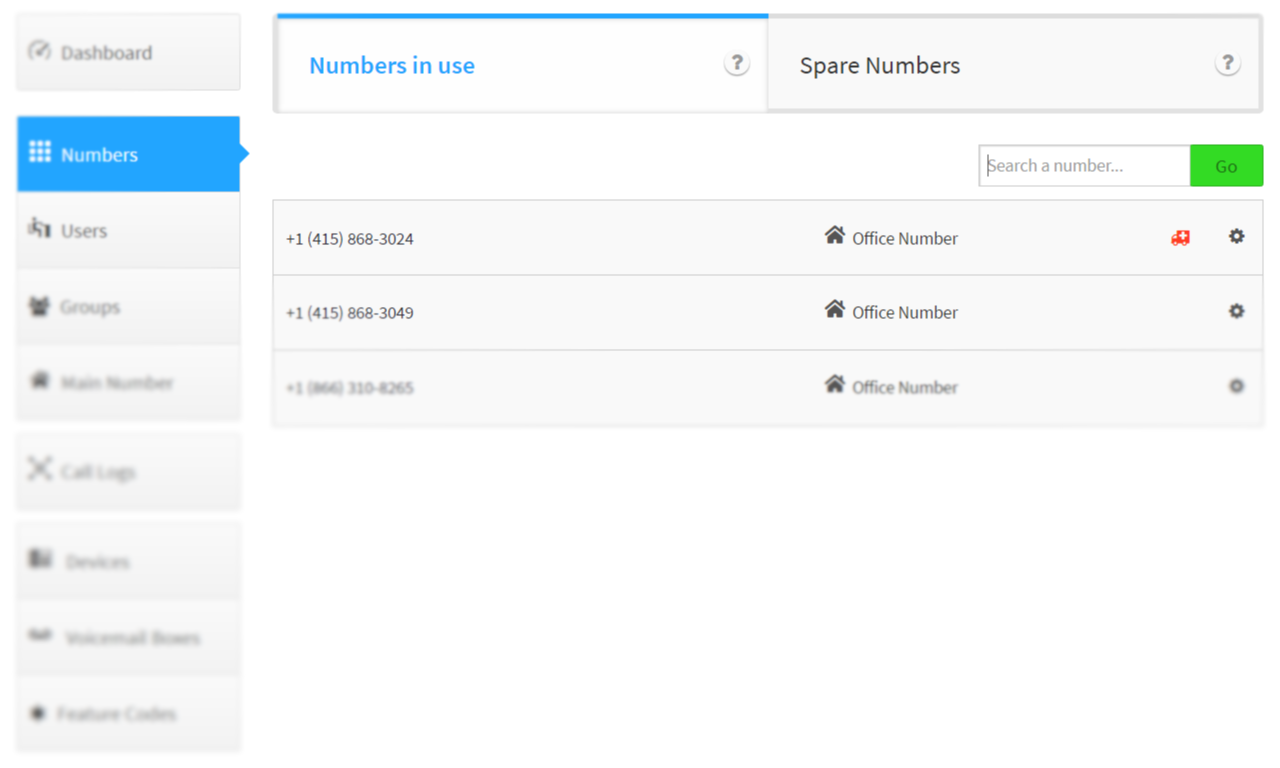
-
Click on
Spare Numbersand select the numbers for removal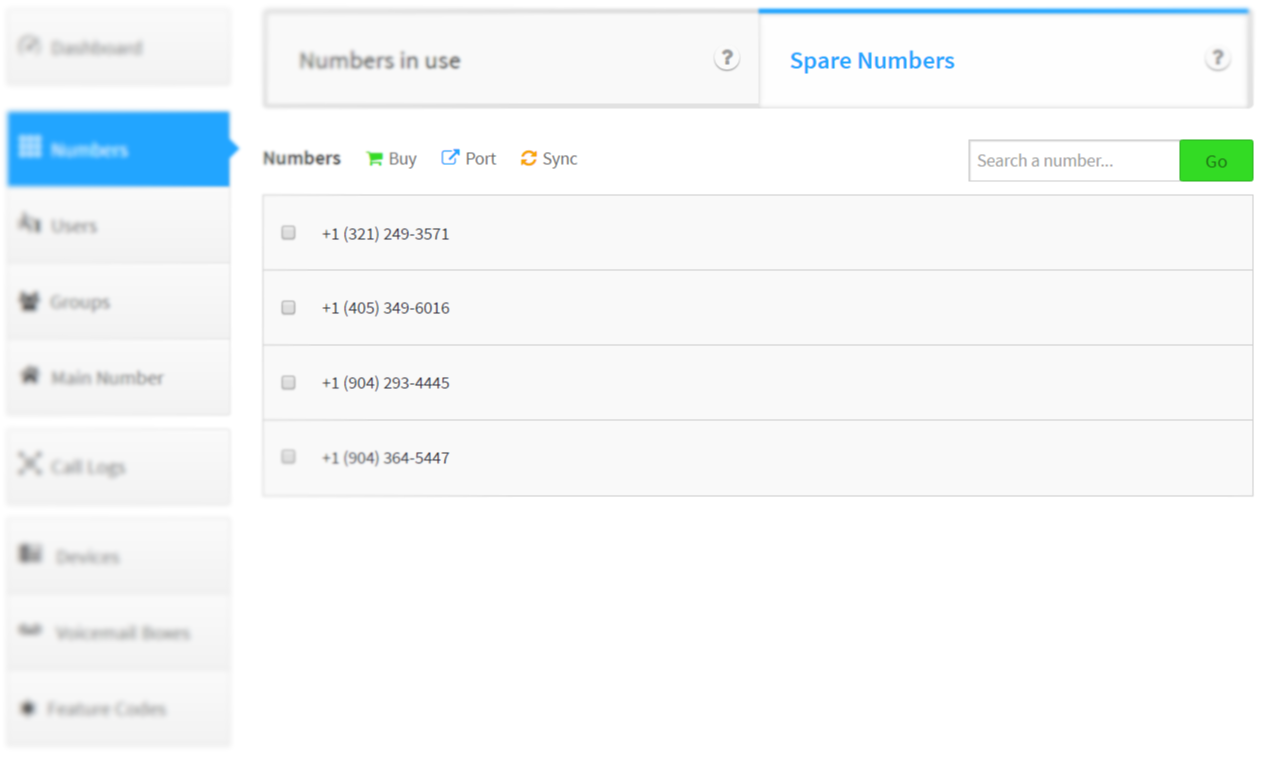
-
Click the
Deleteoption that appears
-
If you are sure that the numbers are no longer required click
Delete number(s). Once removed they are gone forever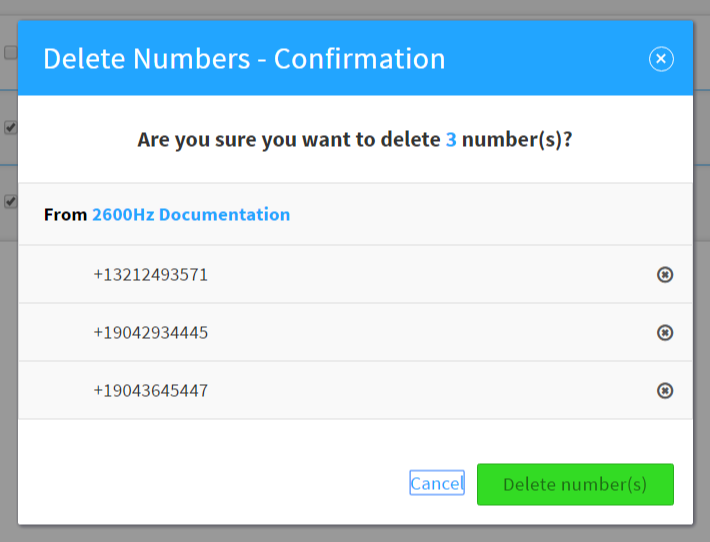
Listing all In-Use Numbers for the Account
Keep in Mind: An in-use number has an assignment to a company main number, user, device, SIP trunk, callflow, conference, pivot application, ect.
-
Switch to the Number Manager application

-
Click on
In-Use
Moving Numbers to Another Account
Keep in Mind: Only spare numbers can be moved between accouts, if a number is in use select the application using it and choose
unassign
-
Switch to the Number Manager application
-
Select the
Move Tooption at the top of the list -
Click on the account to move the numbers to
